Hunter and Hunted is the fifth and longest mission in Absolution. The mission takes place in a seedy portion of Chicago, eventually leading back to Chinatown, where Agent 47 had previously eliminated the King. During this mission, two gameplay types are present: stealth and assassinations.
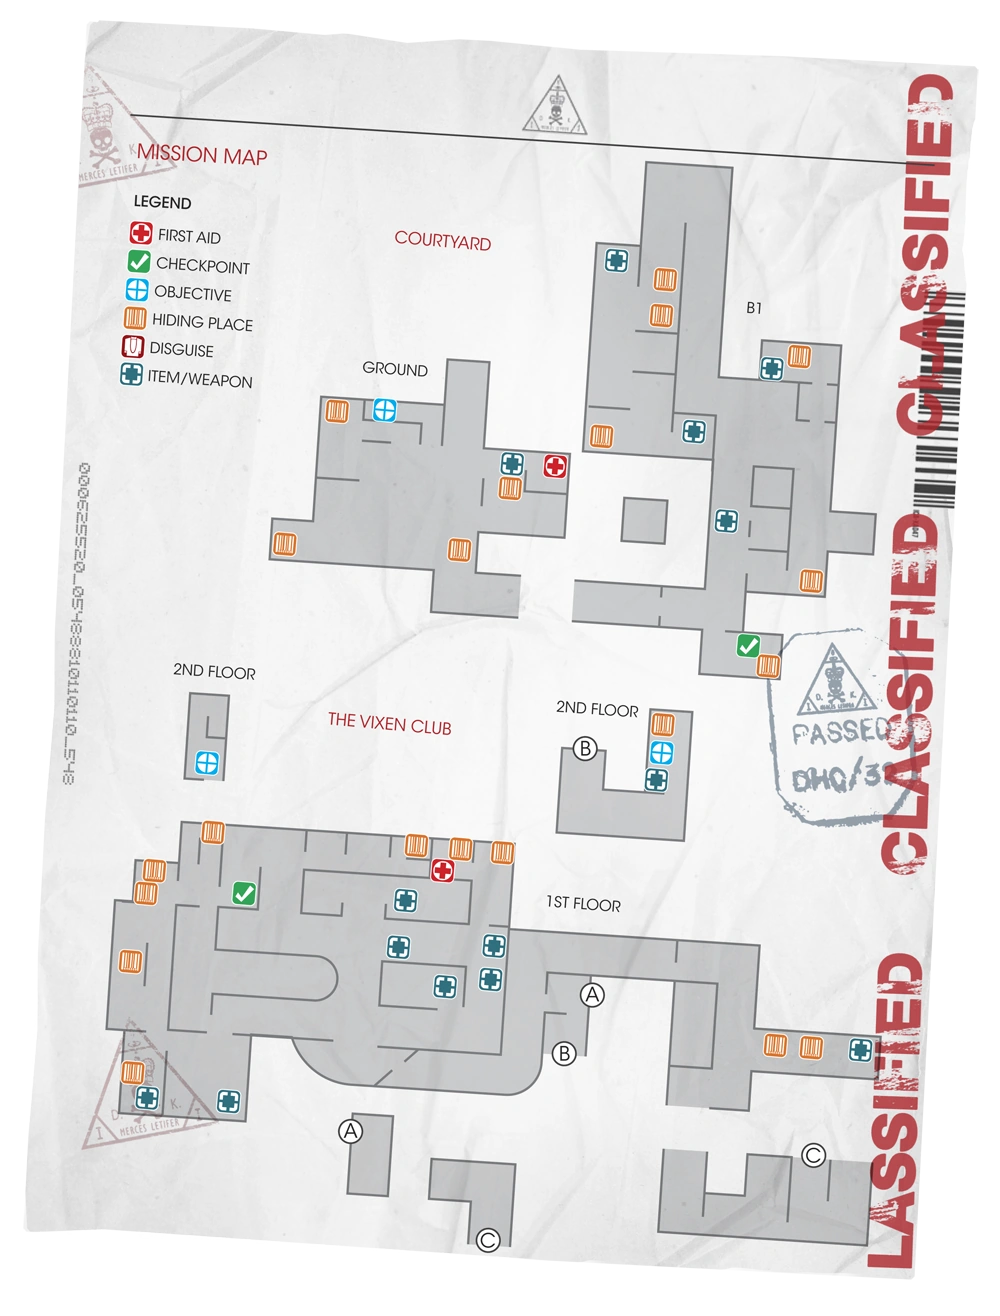
Courtyard[]
The first segment covers a tunnel and a courtyard filled with police officers. At the start of the tunnel, pick up a bottle or metal pipe in case you need it for a distraction later. When you continue through the corridor, stop at the end of it and take cover. There will be a roughly square-shaped hallway going around a smaller room with metallic grating as one of its walls. There are two police officers searching it. When you get to the hallway, wait for one of the cops to turn away and then walk past the pillar. Hug the wall close to the center since the two cops will be looking in the room with the grate wall and can see through it. When they turn away, go through a nearby doorway up a flight of stairs. This will lead to the courtyard, which is filled with police cars. To the right is an alleyway of police officers leading to the level exit that's only an option if you are disguised as one of them. The alternative is to go left, from cover to cover. There is a police officer patrolling back and forth under the roof, but he can be subdued and his body hidden in a nearby dumpster. When you move out from underneath the roof, there is a staircase leading down to the right. Climb down the ledge to the door and exit the level.
The Vixen Club[]
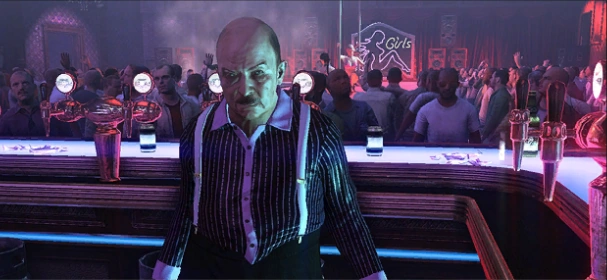
Dom Osmond
The segment begins outside the Vixen Club. If you want to enter through the front door, wait for the police officer to walk away. A better idea is to climb up the ledges on the building wall and go through the window. The office is a minor treasure trove which contains a silenced Jagd P22G, a keycard to the club's hidden areas and a piece of evidence. Pick up the items and go down the stairs and past the register. The hallway will lead to the inside of the club. There is a checkpoint on the other side of the club near the private booths. You can use the keycard to unlock the door leads to the evidence, but do this with caution because the guards may come and investigate the unlocked door, if the guard is coming, there are some places to hide.
The target in this segment is the club owner, Dom Osmond, who will spend his time patrolling around the club. He will first appear behind the counter if you cannot find him. There are three ways to kill him:
Falling Disco Ball[]
- Related Challenge: Schadenfreude
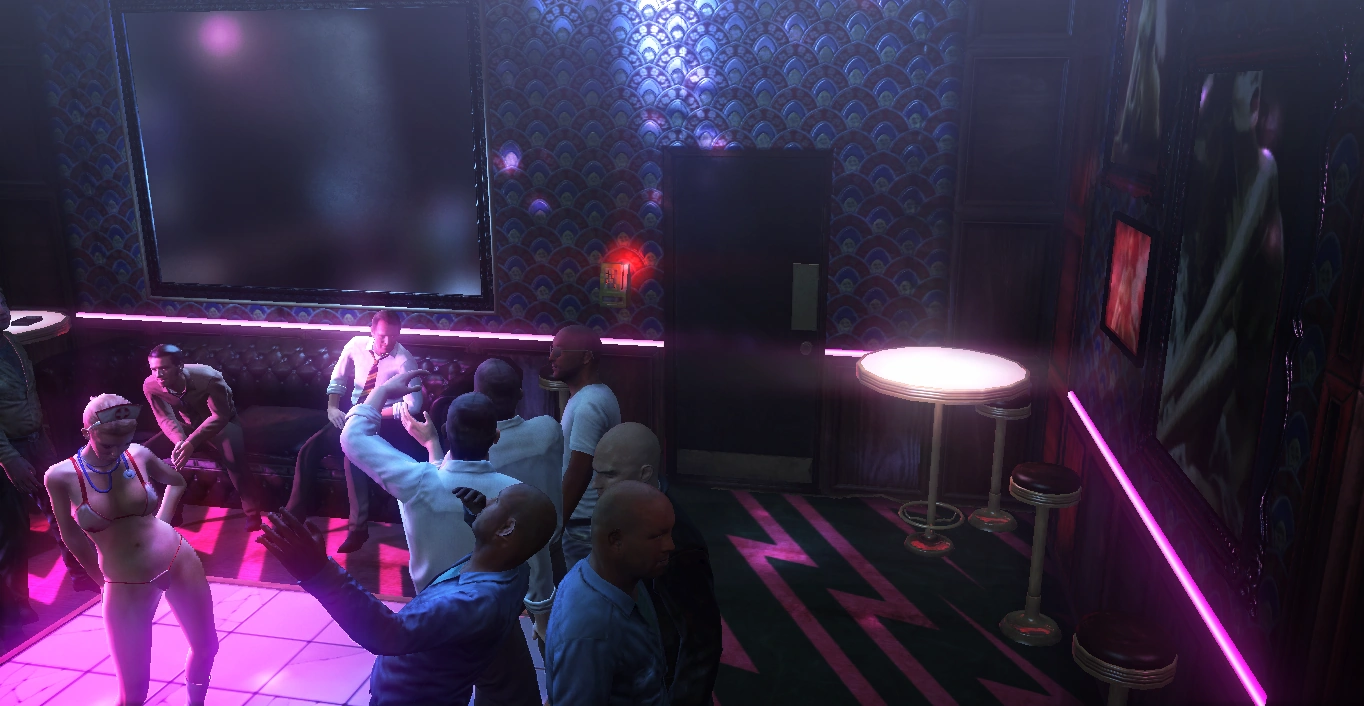
This way is done near the dance floor where a stripper is dancing for a bachelor party and can be done without a disguise. If you took the keycard, just enter through the door. There is a control panel here that controls the disco ball above the dance floor. All you have to do is wait for Osmond to walk onto the dance floor and yell at the dancer, at which point she will briefly step off the floor and he will walk on it. The tricky thing here is timing the drop correctly since the ball rotates quickly and will fall towards the direction it's leaning when 47 speeds up the rotation. This method can also kill other people easily, so use the panel with caution.
One Last Lap Dance[]
- Related Challenge: Private Dance
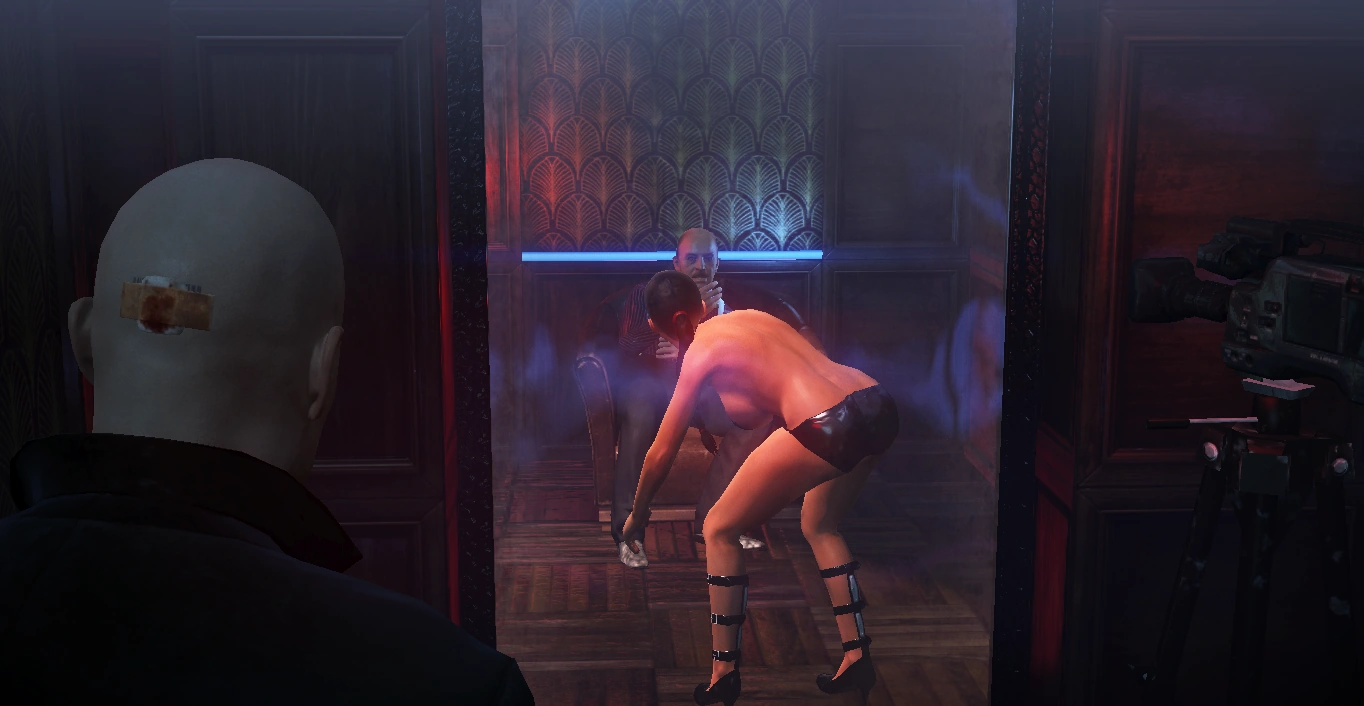
The two-way mirror masks your presence.
This method is done in the private booths, where Osmond will occasionally make one of the strippers give him a lap dance. While he is gone, you can walk past the stripper and use the keycard to enter the room furthest away. It leads to a room with a two-way mirror through which the booth in which Osmond gets his lap dance performed can be seen. After entering the room, wait for Osmond and the girl to enter the booth. When the stripper is done and Osmond throws her out, wait for her to walk away, then shoot Osmond in the head through the mirror and hide his body in the box in the mirror room. You can do this with unsilenced firearm, as nobody can hear the gunshot for some reason (presumably the room is set up like a recording booth and has soundproof insulation.) But the safest way is to shoot him with silenced JAGD P22G, which can be found in the same segment.
The silent alternative to shooting is garroting. While on the phone, Osmond faces the one-way mirror. It is simple to slip in behind him and choke him to death. Throw an object at the glass, breaking it, then drag Osmond's body through to the container.
The "Private Dance" will be automatically triggered after you enter the booth, regardless of Dom's current position.
The Restroom[]
- Related challenge: Dominated
The restroom is the second stop on Osmond's route. There is a guard inside, but Osmond will throw him out after entering, at which point the area counts as trespassing. The safest way to kill Osmond this way is to throw a bottle into the room to make the guard turn away, then subdue him and hide his body in the locker. Then wait for Osmond to step inside to pee, garrote him and hide his body in the locker as well. An even safer way is to go to the restroom before Osmond gets there, subdue the guard, hide him in the closet and then just wait for Osmond to go inside.
Exiting[]

Take advantage of the exit...and other things.
The segment's exit is through a door leading to the club's upper floors and Osmond's office. While the door near the checkpoint may seem tempting, there is a guard and a stripper talking inside and a guard near the checkpoint who will spot 47. You will need extremely precise timing to avoid all of them. Instead, a safer option is to use the door near the dance floor. A guard will occasionally step inside. Hide in cover by the doorway, wait for him to come, subdue him and hide his body. Walk past the room with the two strippers and through the hallway until you get outside the room with the stairwell. Wait for the guard and the stripper to finish talking and disperse, then sneak up the stairs and to the exit.
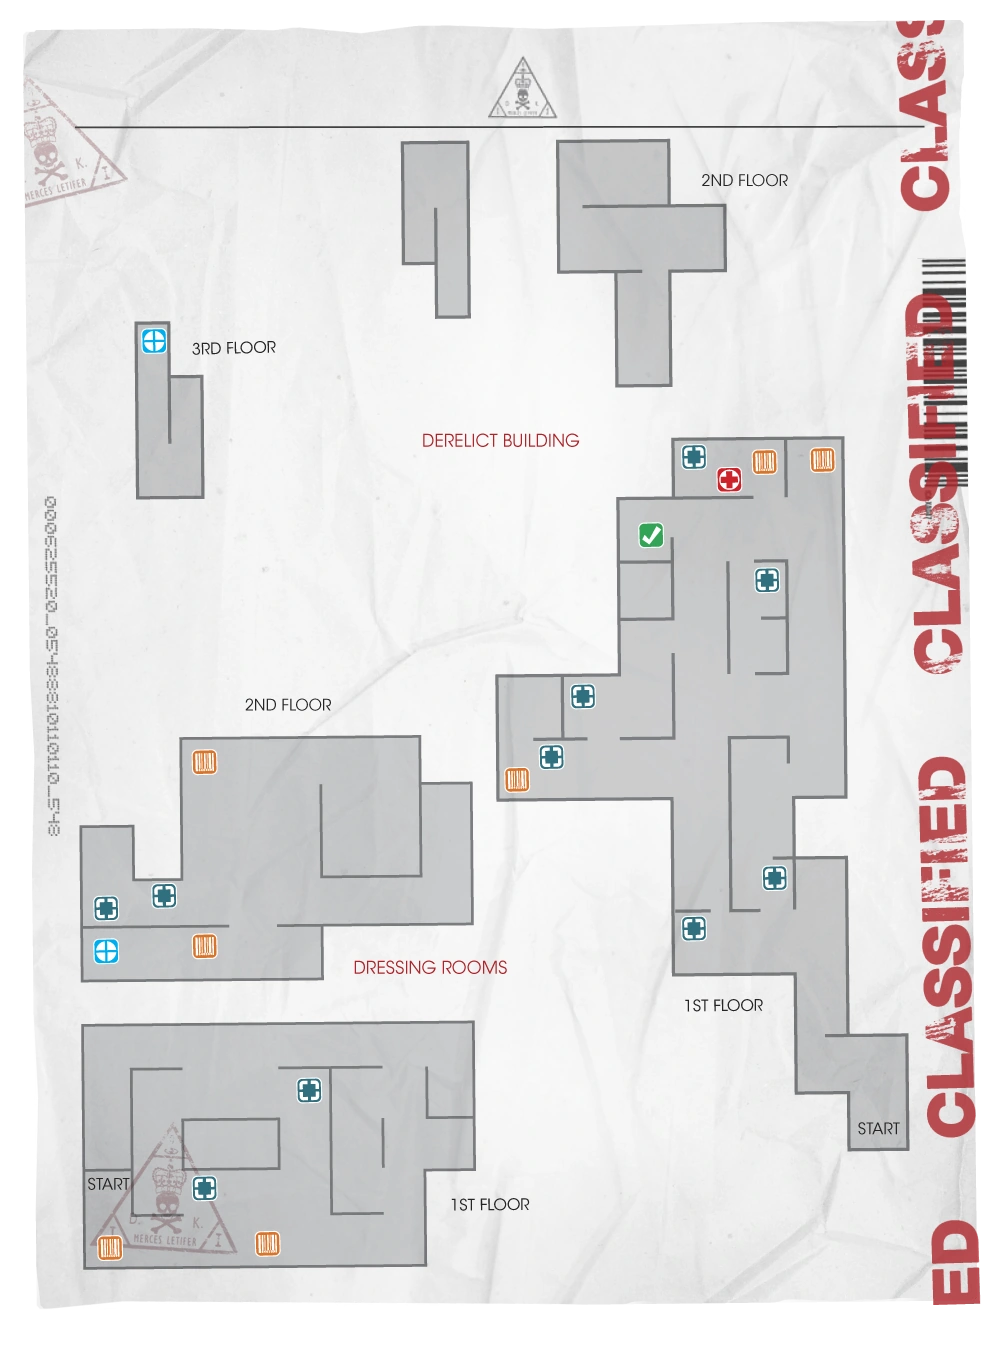
Dressing Rooms[]

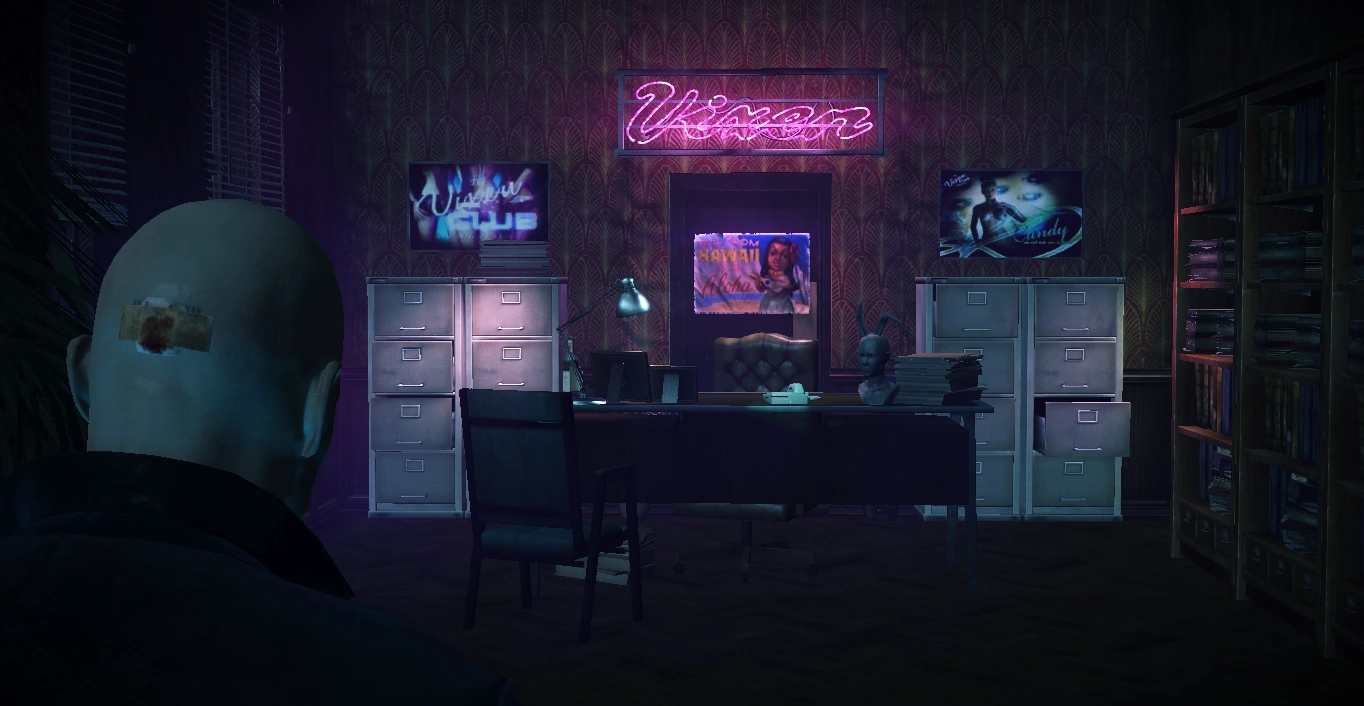
Check the phone on the desk to end the segment.
The segment is easy to sneak through, especially with a disguise. Get past the room with the pool table by skipping from cover to cover to the other side. The exit is on the upper floor, which can be accessed either through a staircase near the strippers or another near the pool table. Both are easy to access, however, the staircase near the strippers can prove to be considerably easier to ascend while wearing the suit. In Osmond's office, listen to the phone's answering machine to finish the segment. Beware: on higher difficulties, there may be a guard standing inside the office.
Derelict Building[]

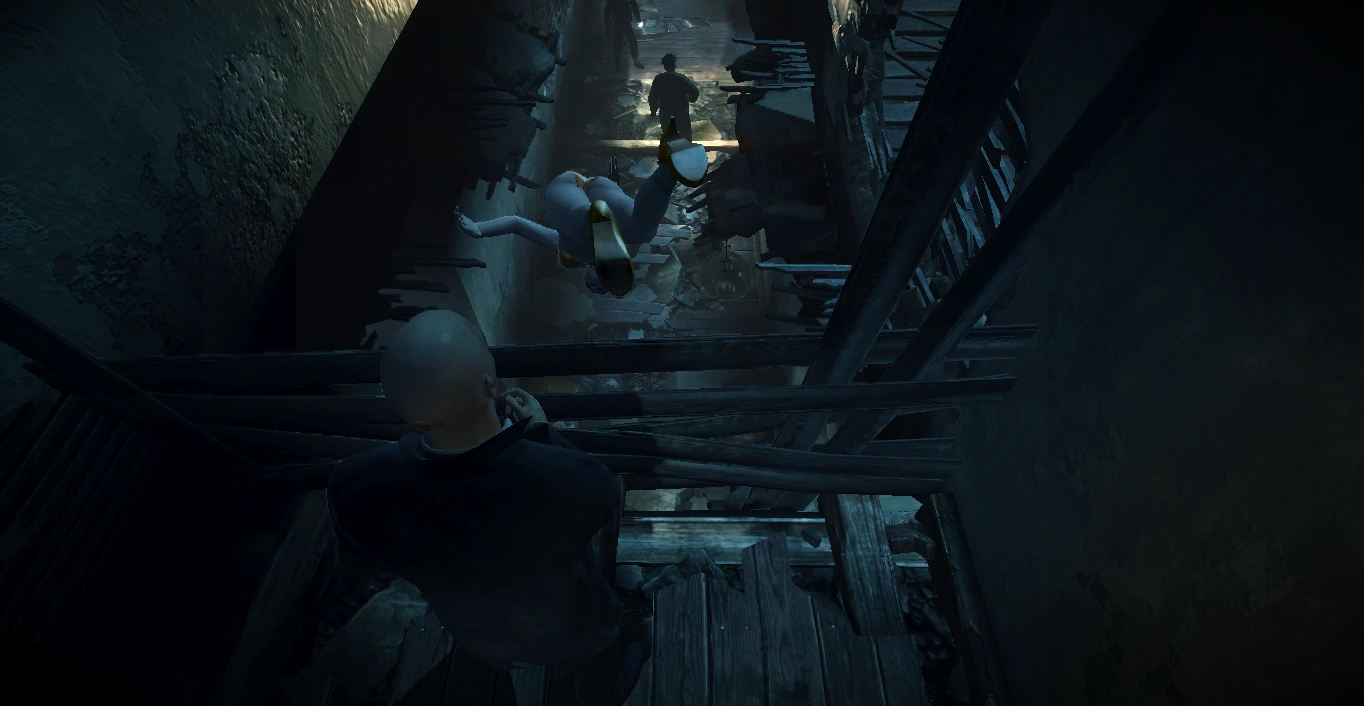
Dump her over the ledge.
The next segment is pretty straightforward. The exit is up yet another staircase and is, unfortunately, guarded by police officers who will attack 47 on sight. If you have a police officer disguise, you can just use Instinct and walk past them. If not, you have to go through the corridors and dilapidated rooms, past the room with the shotguns and ammo and into the room with the checkpoint. There are ledges on the wall leading upstairs. Climb them and you will find the body (presumbly Amber that the NPCs were talking about) of a stripper. Dump it over the railing, then go through the doorway leading to the edge. Once all the officers have gone to investigate the body, climb down the ledge and go up the stairs to the exit. Beware that there is a cop at the top of the staircase who will walk down. Wait for him to pass before proceeding.
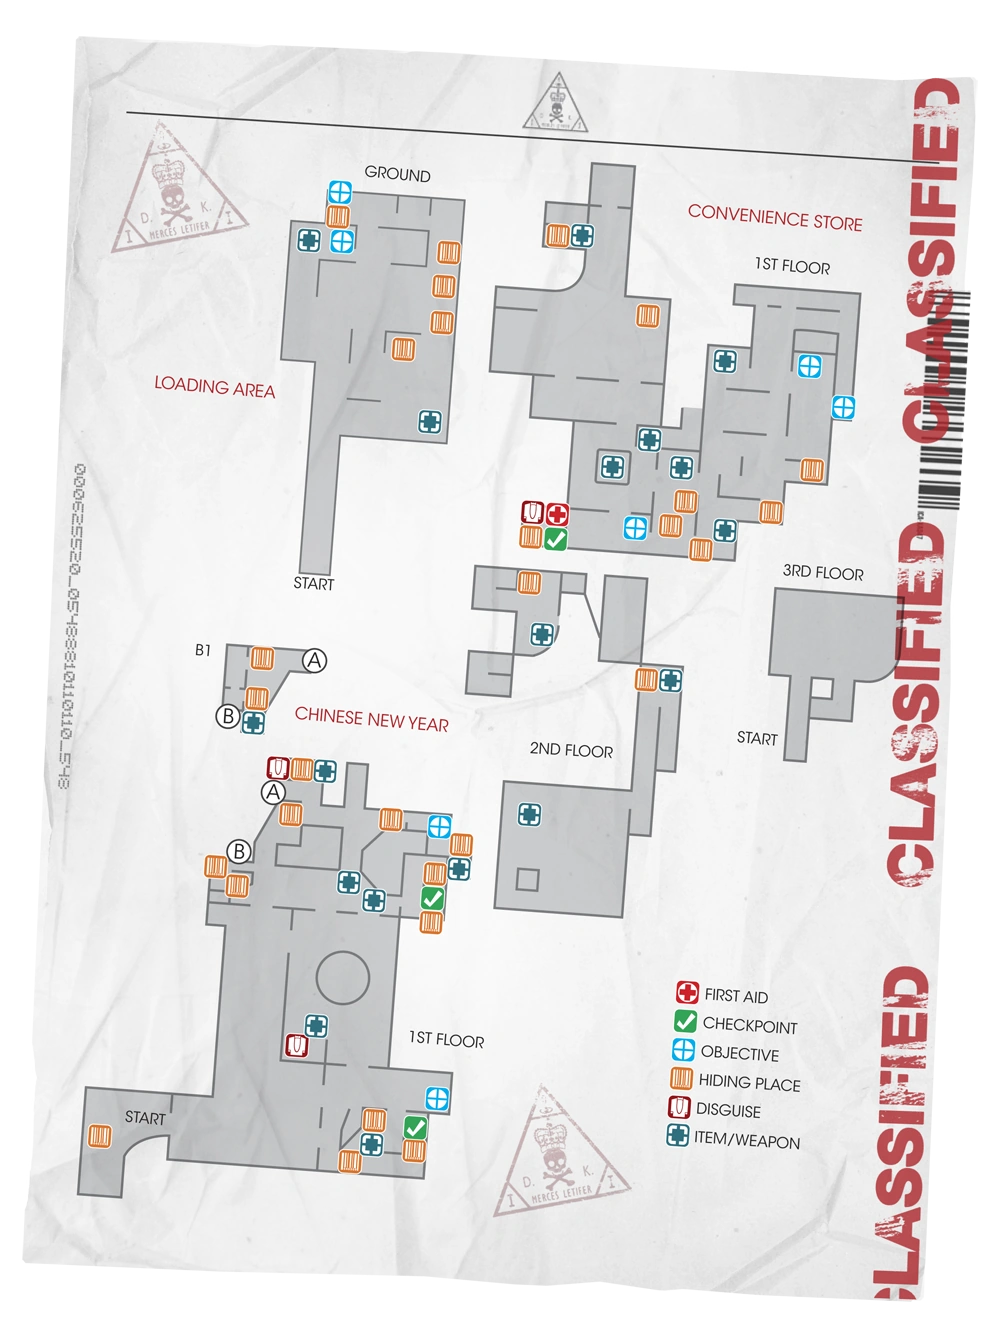
Convenience Store[]
The segment begins on a rooftop. The ground below is crawling with police officers and the door leading to the store is guarded by a cop. The exit is on the other side of the convenience store and can be accessed in various ways:
- The easiest way is arguably to get down the ledge, past the window when the police officer isn't looking and cross the plank. This will lead to a room with a clerk inside. Wait for him to walk away, then go through the apartment and down the stairs into the kitchen.
- Alternatively, if you're using disguises, you can go down the ledge and through the window. Subdue and hide the officer, then go down the stairs where there is a clerk smoking. A police officer will sometimes step into the doorway. Wait for him to walk away, then subdue the clerk, take his disguise and hide the body in the dumpster. Then you can simply walk through the rear door. This disguise means police officers won't notice you, but the staff at the convenience store will.

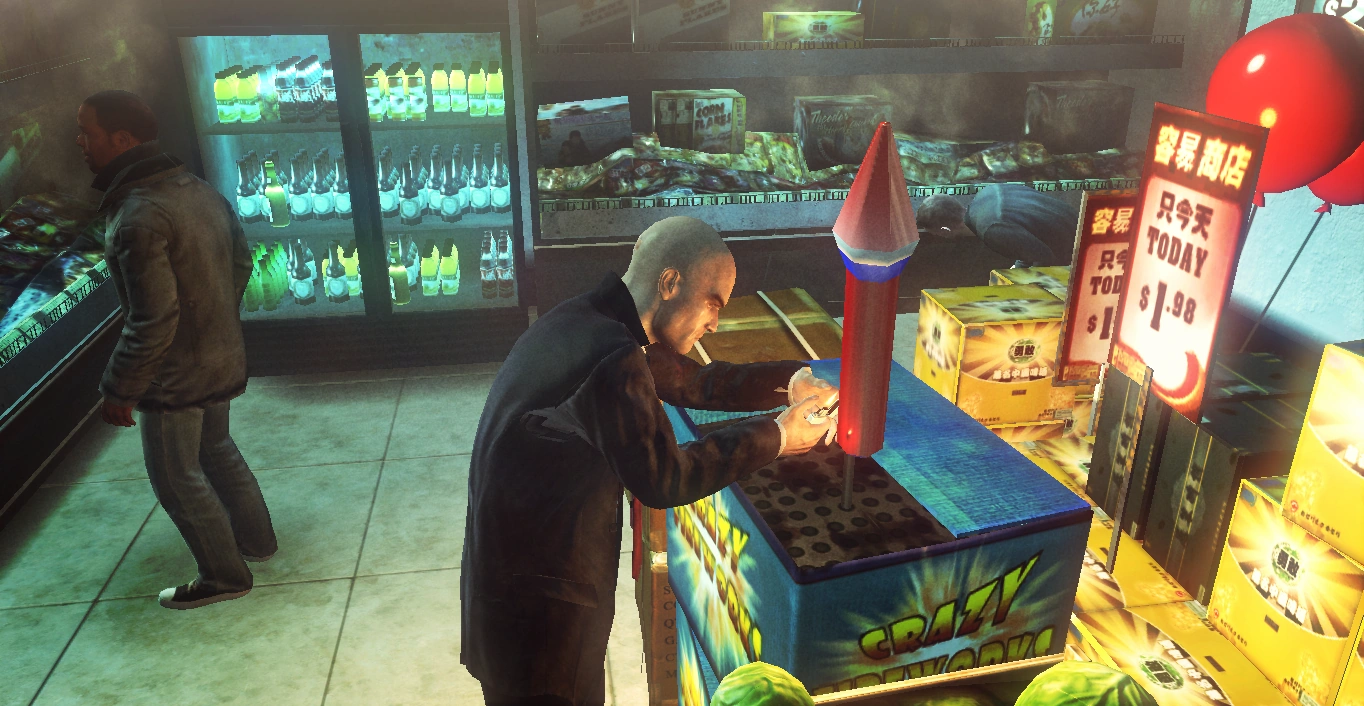
Ignite the fireworks to escape the segment with a bang.
All these routes lead to a kitchen frequented by two clerks. In the storage room to the left there are some large boxes of fireworks. You can use these to make sneaking through the next part easier by going across the doorway with the plastic strips and into the room with a window to the store. Turn the valve inside to disable the sprinklers, then go back to the storage room and set the fireworks on fire, causing a lot of smoke. This will give the police lower visibility as well. Exit the store through the door to the right, hug the wall to the right and go to the exit.
Loading Area[]
The Loading Area is a brief and simple stealth area where the point system, for some reason, is inactive. The exit is inside a small house across the open area. It's easy enough to get there by sticking to the left and moving when the police officers can't see 47. It's possible to get one of the cops out of the way by disabling the utility box in the center, hiding in the dumpster, waiting for him to try and fix it, exit the box, subdue or kill him and hide his body in the dumpster.
If you're using a disguise, you can just walk straight to the door.
Chinese New Year[]
- Related Challenge: Cleaning Up in Chinatown
The segment brings 47 back to Chinatown, which is more or less the same as it was in the earlier mission. The differences are that the cooks have been replaced with store clerks who can see through 47's disguise if he is dressed as them. Another is that the police officers will be on the look out for 47. The targets will also become suspicious if they see him, but the crowds provide a decent cover. Finally, some parts of the area have been altered, sometimes with new patrol patterns. For example, the alleyway leading to Snowman's apartment has been walled off. There are three targets to be killed: Bill Dole, Larry Clay and Frank Owens.
Bill Dole[]

Bill Dole
Dole will be buying a file about Birdie from a corrupt police officer. You can either follow him there or you can pre-empt him by going to the lower area where the drug dealer in the previous mission hid his stash of drugs. There will now be a ventilation shaft there leading to a hideout full of weapons where Dole will be meeting his contact. If you fail to kill him there (see below for more info), you can hide nearby until he walks into the lower area himself to make a phone call and kill him there. If you fail to do so as well, Dole will first go the pagoda and then to the truck near the checkpoint, which presents another opportunity to kill him.
Murder by Proxy[]

Lift Birdie's file to send Dole over the edge.
- Related Challenge: Lieutenant Bad
The easiest way to kill Dole is to have the police contact do it for you. Enter the hideout through the ventilation shaft. You will appear near a table with Birdie's file on it. Enter cover by the table, take the file from the table, exit and wait for Dole to arrive. When he notices that the file is gone, he becomes hostile and threatens the officer with his gun. In response, the officer shoots and kills him. Dole is scripted to go to meet his police contact after a period of time, so you can take the profile away and leave first, and Dole will be killed in few minutes
Electrocution[]
- Related Challenge: Moment of Bliss
After completing the deal, Dole will go to the pagoda and then to a parked truck near a checkpoint. He can be killed by an accident here if you hide nearby and turn on the generator while he is urinating, electrocuting him. The same trick can be used to kill Larry Clay. Note that you first have to rig the cable to electrify the truck.
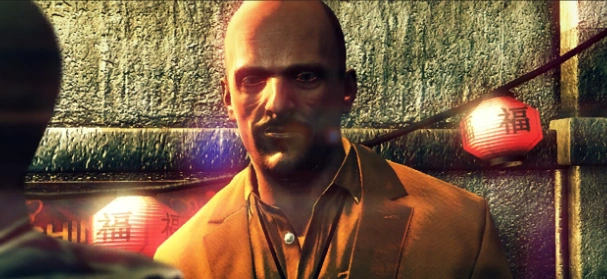
Larry Clay[]

Larry Clay
Clay will approach a bystander near the booth with the katana and cleavers and lure him to a secluded area to interrogate him about Birdie. There are a few ways to kill him. Each of the three methods available to eliminate Clay are linked to a challenge.
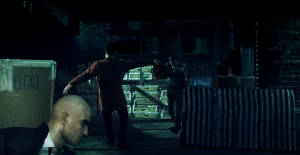
The Manhole[]
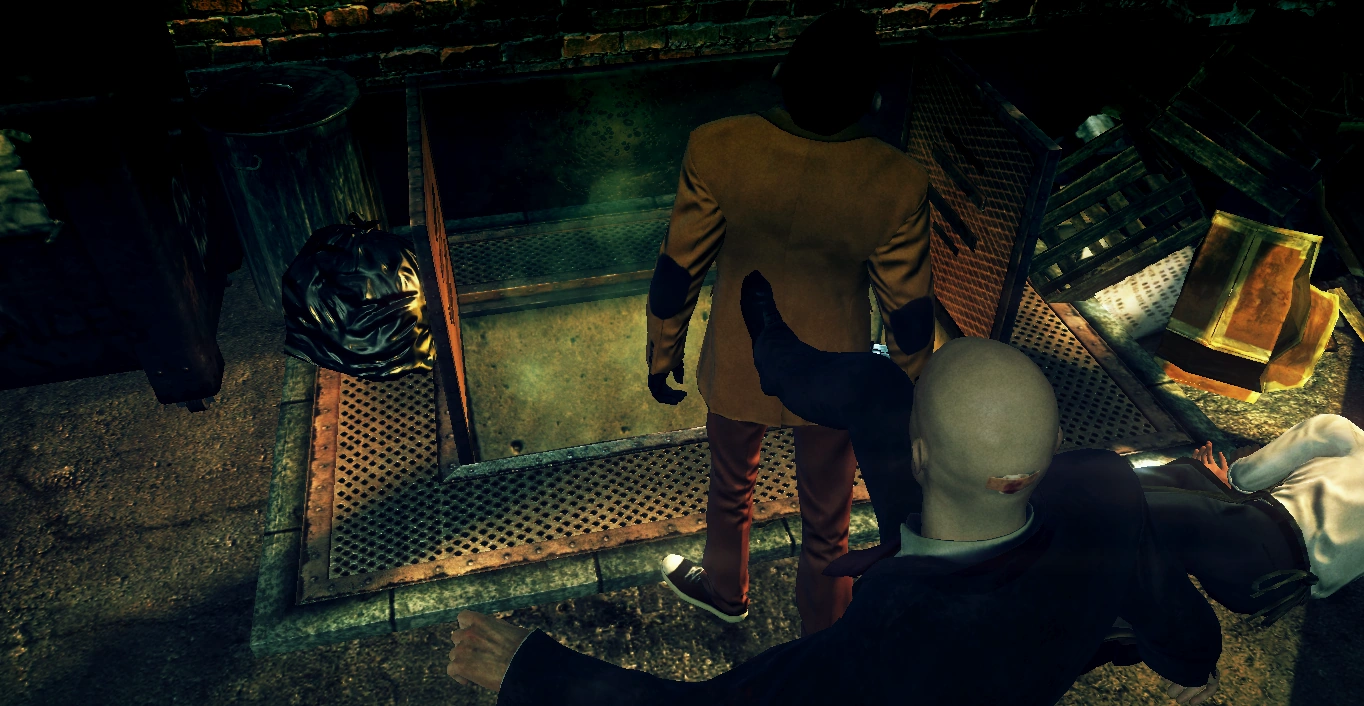

Giving Clay a little "encouragement."
- Related Challenge: Two Rights Make a Right
If you walk up the stairs near the checkpoint, you can climb down a ledge and hide in a dumpster near the manhole. When Clay and the clerk arrive and Clay knocks him unconscious, he will pull out a gun and threaten him. Use this opportunity to get out of the dumpster, sneak up behind him and push him into the manhole. Alternatively, you can simply shoot him from near the ledge. Either way, if you kill Clay while he is threatening the clerk but before he kills him, you will clear the "Two Rights Make a Right" challenge. You can dispose both if you let Clay shoot the clerk first, to prevent the bodies being spotted.
Electrocution[]
- Related Challenge: Moment of Bliss
If Clay kills the clerk, he will walk to the truck near the checkpoint and can be electrocuted the same way as Dole (see above for details).
Falling Cargo[]
- Related Challenge: X Marks the Spot
Clay can also be killed when he walks to or from the manhole with the cargo suspended above the alley. Just shoot the chain as he passes by. The timing is difficult since he is hard to see from the vantage point, but it's not impossible. The cargo near the entrance can also be used against him, but doing so will not get the challenge. Its best to wait Clay to shoot the chef before you shoot the chains, to prevent extra kills. (which can severly impact your rating)
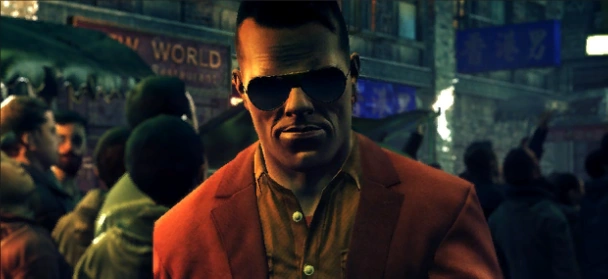
Frank Owens[]

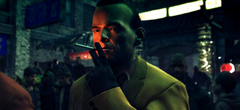
Frank Owens
Owens will spend most of his time near the gas pump and fireworks behind the fence guarded by a police officer. Though there is a bowl of noodles at a nearby food stand, it is highly difficult to poison it on higher difficulties than normal (there is a bottle of rat poison near one of the stands) since the cook in front of it never moves.
No Smoking[]
- Related Challenge: Fire Him
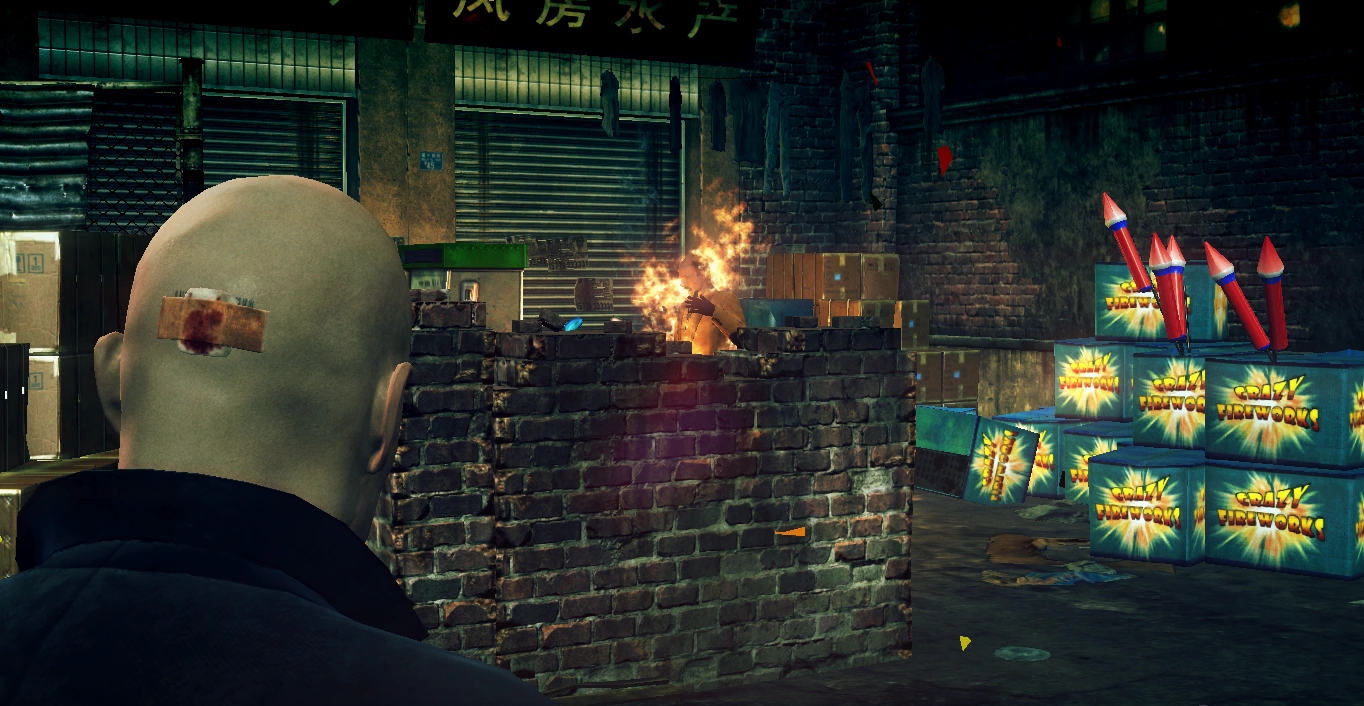

Smoking will kill you, one way or another.
An easy way to kill Owens is to sneak into the fenced area through the window to the left of the gate. Hide, wait for Owens to walk away, then sabotage the gas pump. The next time he steps there and lights a cigarette, the gasoline will ignite and kill him. If you have a little spare time, stick around and watch the additional fireworks that are triggered as a result of this. Make sure the NPC does not see you enter that area, and you can just sabotage the pump, then leave like nothing is happened. Owens is scripted to go there after a period of time.
Swordplay[]
- Related Challenges: Swordplay - Part I, Swordplay - Part II
The Swordplay challenges are about stealth killing the Chinatown targets with a katana. The challenge might require some trickery with the checkpoint near the generator used to electrocute some targets, since Dole and Clay start closely together at the start of the segment and then walk pretty far from each other. Also, the only katana in the level is at a stand of knives not far from the cart. To make the challenge easier, take the katana while dressed in 47's usual suit or as a police officer (the salesman standing in front of it will see through your disguise if you dress like him), then trigger the checkpoint. This way, all targets will start in individual locations and you can restart easily if 47 gets spotted, since the counter will restart if he is.
Bill Dole[]
The most discreet area to kill Dole with a melee attack is after he meets the informant and goes to the downstairs area with the dumpsters. Alternatively, if you want to keep him in one place, you can kill the informant and hide his body. That way, Dole won't move from the storage room.
Frank Owens[]
Owens can easily be killed when he stands by the gas pump. If you are dressed as a police officer, you can just walk past the officer guarding the fenced area by using Instinct. If you are dressed as a salesman, 47's suit or the chipmunk disguise (see below), go through the window opening to the left of the gate. Be sure to go to the left, not the right since Owens will be facing that way. Sneak up behind him when he is facing away and kill him.
Larry Clay[]
The handiest way to stealth kill Clay is when he threatens the salesman. After they leave, pick up the katana if you haven't done so, run to the right and up the stairs, climb down the ledge and hide in the dumpster in the corner to the left of the sewage opening. Wait for Clay to push the salesman to the ground, then climb out and kill Clay with the katana, stealth kill is strongly recommended because the cop nearby will come and investigate if you make too much noise.
The Chipmunk Outfit[]
- Related Challenge: Swordplay - Part III
The Chipmunk disguise can be found in an alcove guarded by a heavyset police officer near the storage room where Bill Dole meets the police informant. Wait for the officer watching the staircase to go into the alcove, kill or subdue him and hide his body. The Chipmunk disguise gives you more or less the same access as 47's suit, except you can no longer use safe spots to hide from the targets or police officers. Apart from that, you can use the same methods listed above to kill the targets.
Exiting[]
The exit is just past the gate to the fenced area.
Evidence[]
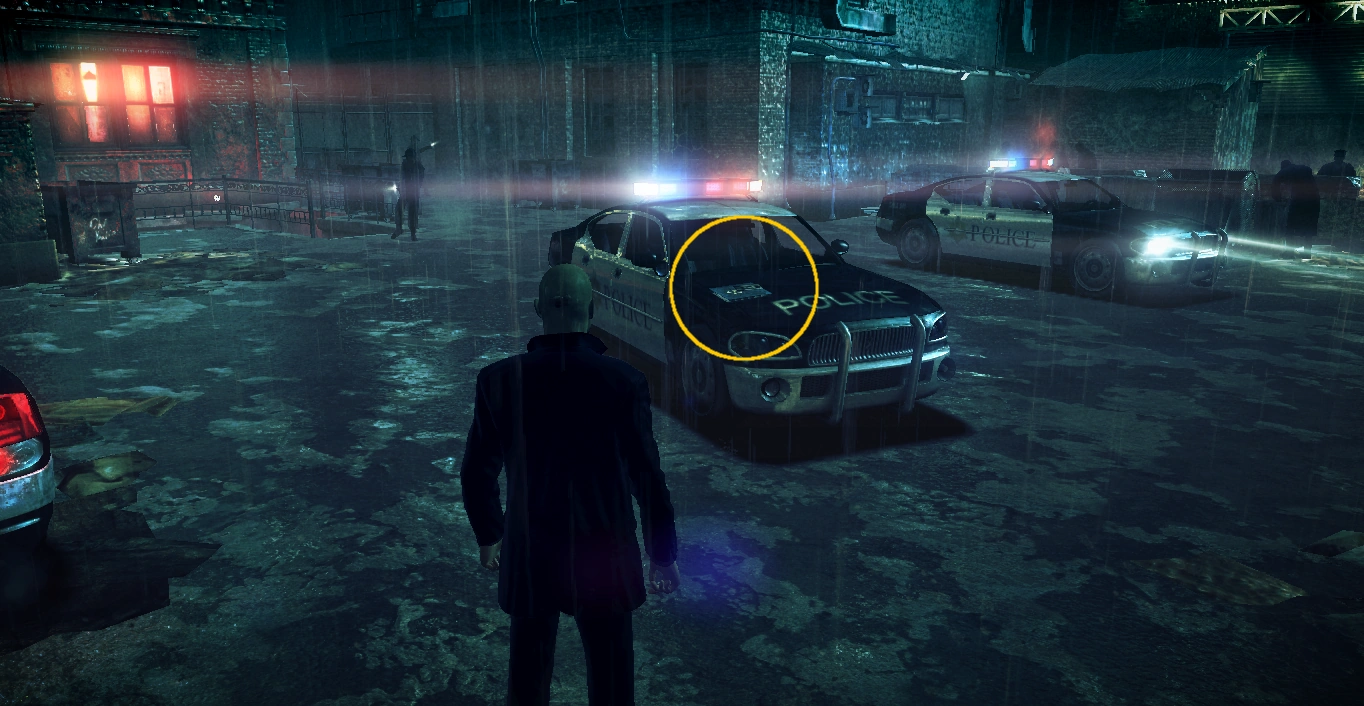
The first piece of evidence, located in Courtyard, is located on the central police car once back up to street level. It rests on the hood, and can be somewhat tricky to obtain quietly due to its placement.
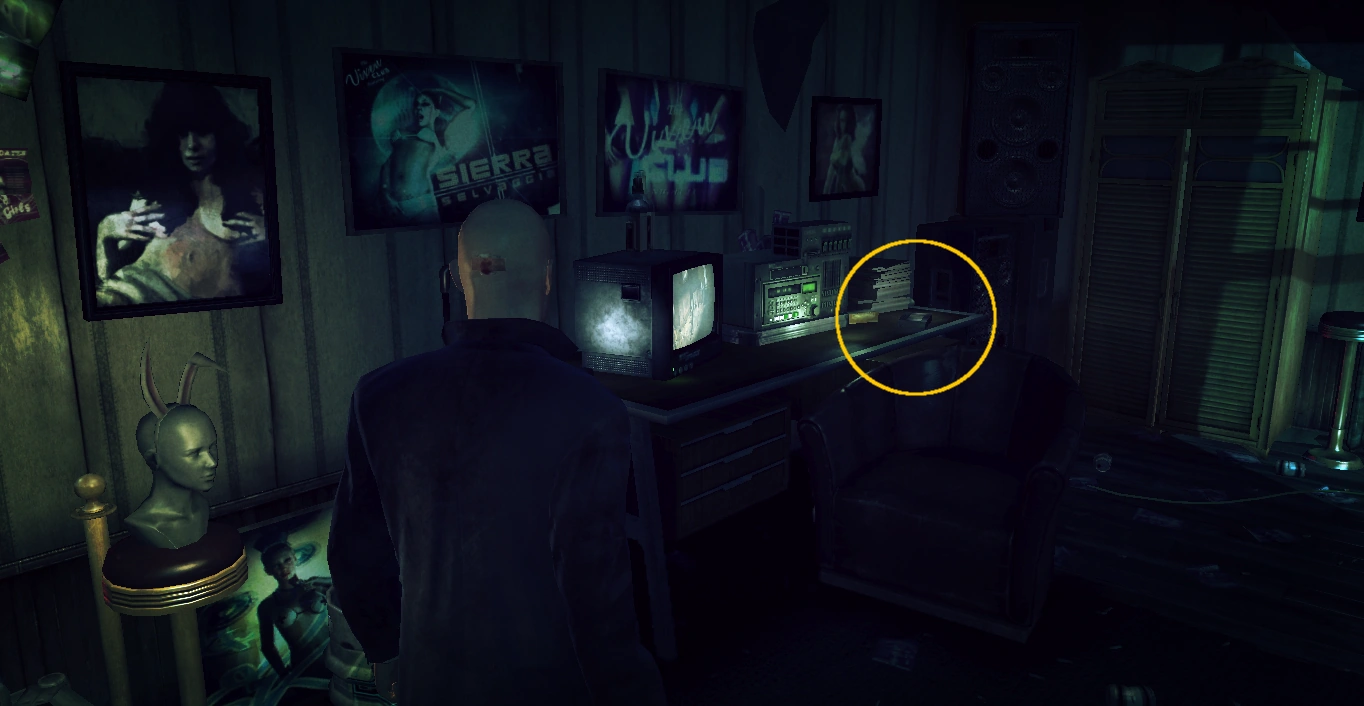
The second piece of evidence, located in The Vixen Club, is located in the upstairs office of the strip club. To easily gain access to the evidence, as well as a silenced Jagd P22G and the keycard, scale the ledges on the wall to your immediate left after entering the area, and climb in through the window. The evidence rests atop the desk.
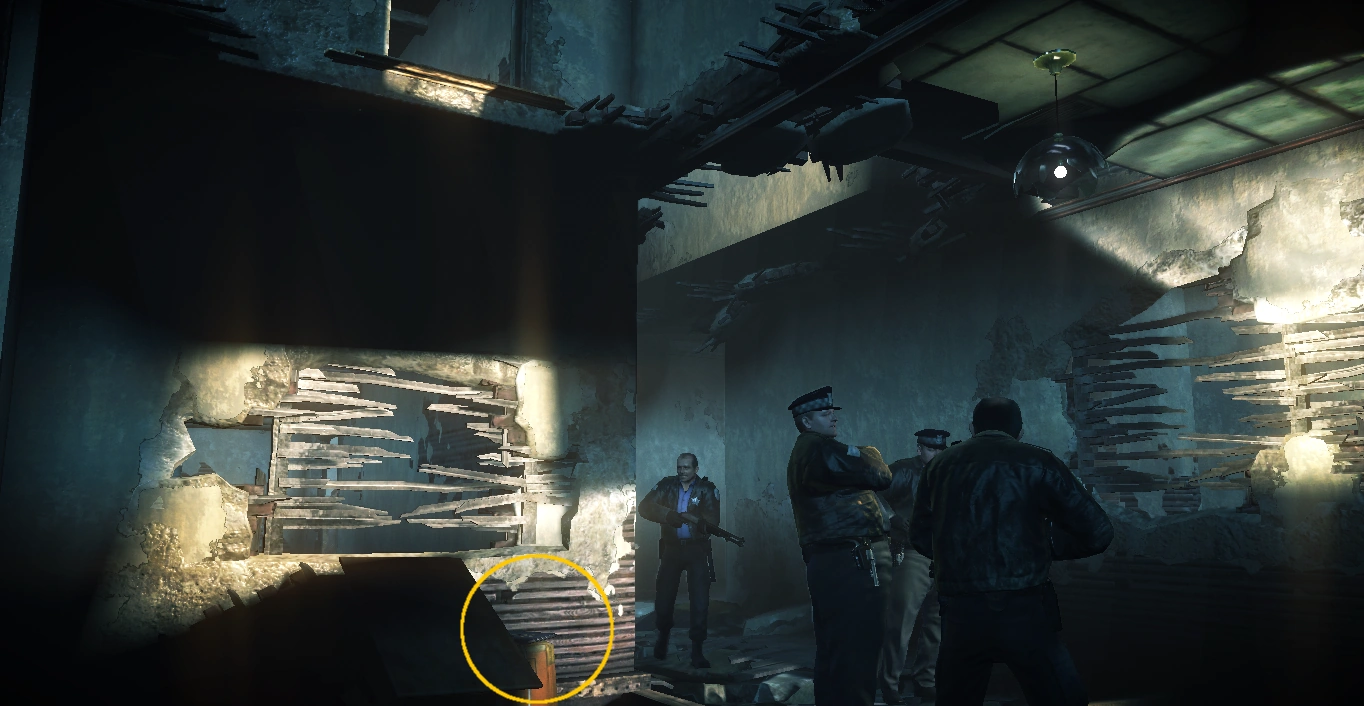
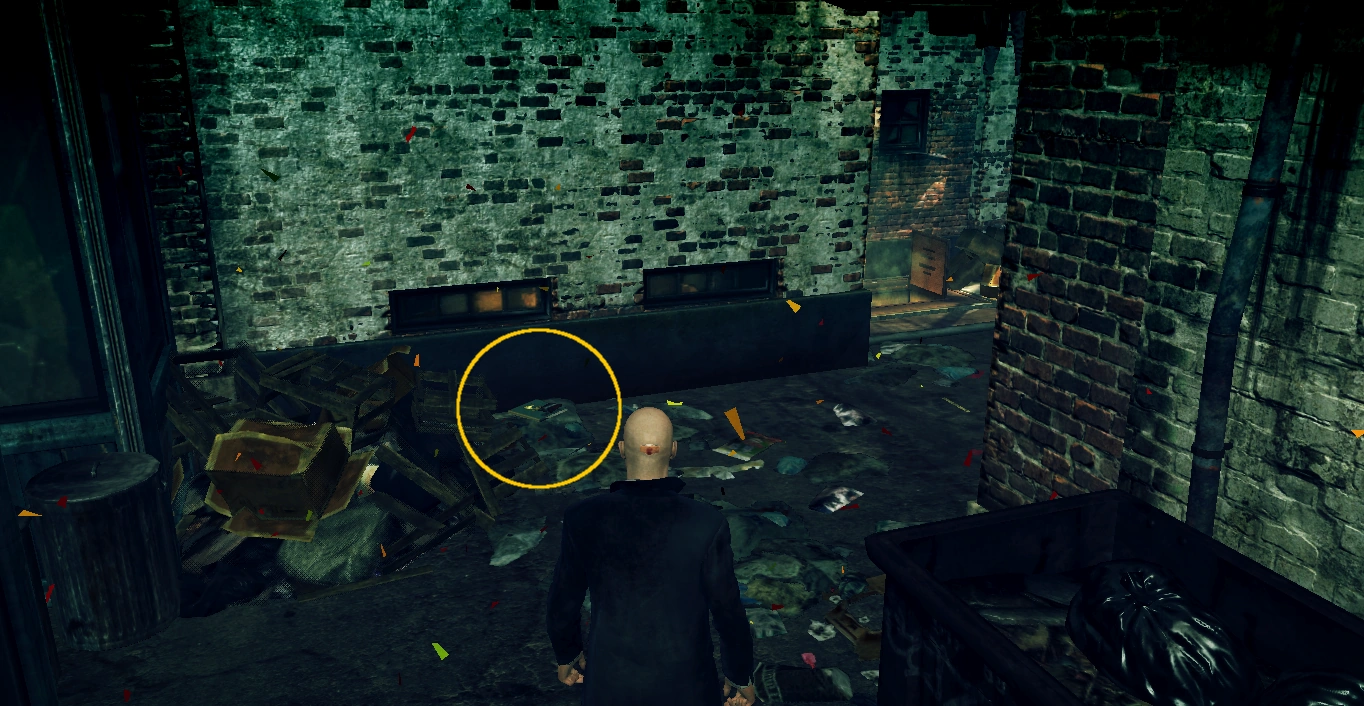
The third piece of evidence, located in Derelict Building, is resting atop a box immediately below where you are able to drop from the floor above. To easily obtain this piece of evidence, dump the dead stripper's body over the railing, wait for the crowd of police to investigate, then drop down and grab it.
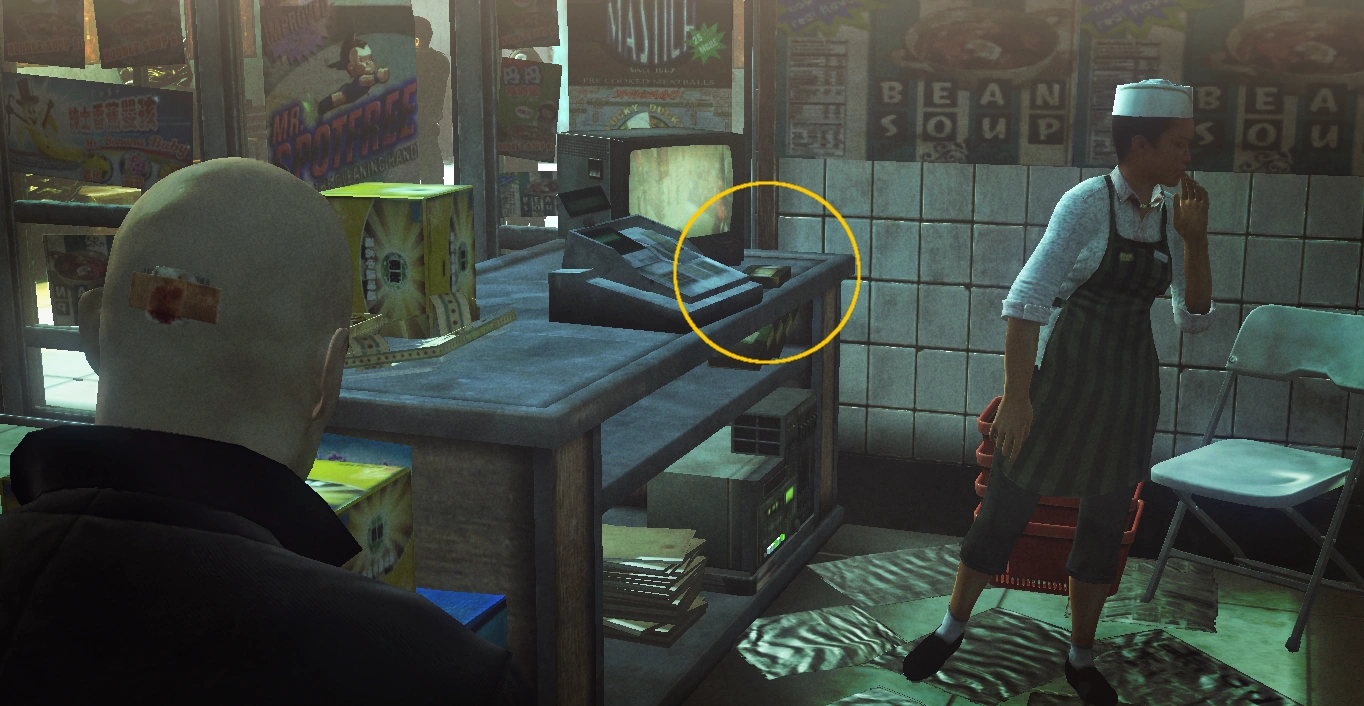
The fourth piece of evidence, located in Convenience Store, is located beside the cash register at the very front of the store. Acquiring this piece of evidence quietly can prove to be tricky on higher difficulties because of the amount of NPCs and their placement.
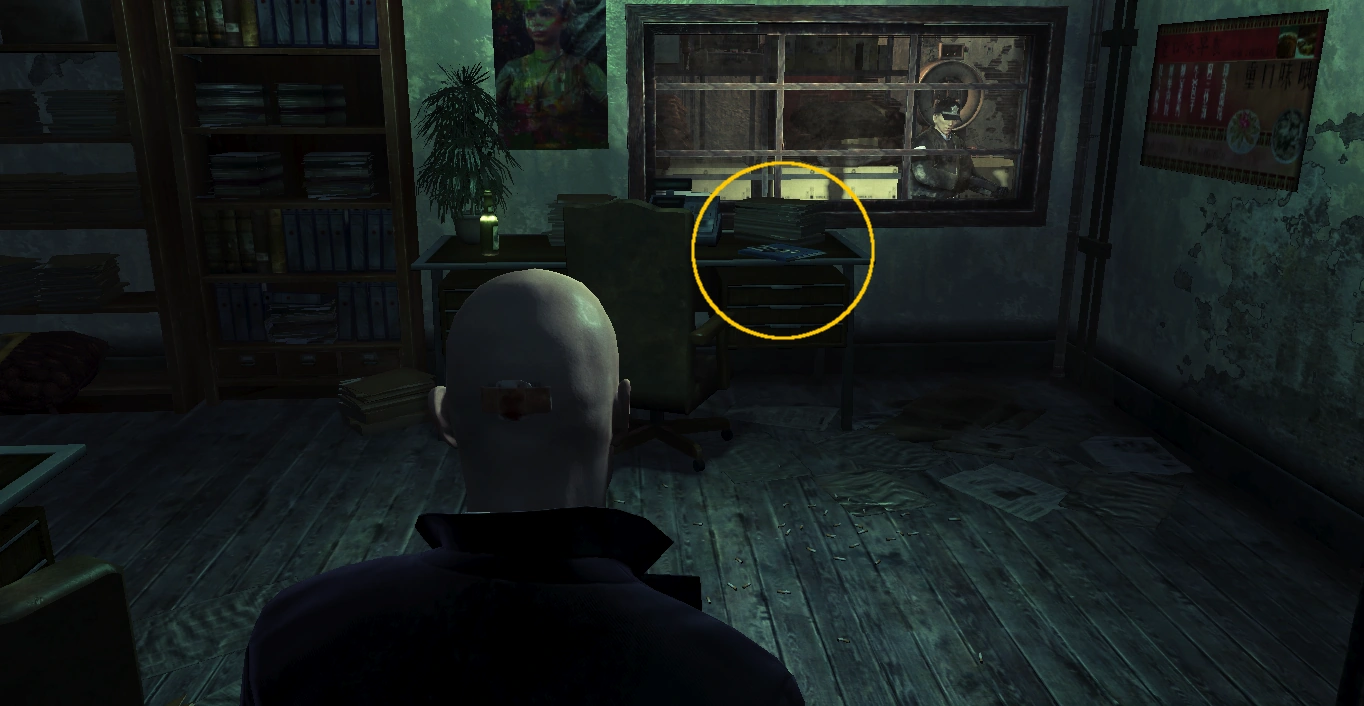
The fifth piece of evidence, located in Loading Area, is located atop a desk in the small office on the left-hand side before reaching the exit. This piece in particular is easy to retrieve so long as you remain crouched; a guard is usually posted just on the opposite side of the glass.
The sixth and final piece of evidence, located in Chinese New Year, is located in the short alley where Clay interrogates the market vendor. Of all of the evidence in Hunter and Hunted, this is one of the easier ones to obtain. Instead of trying to enter the alley head-on, enter the alley that runs parallel to it (the one that serves as the King's parking area in The King of Chinatown), climb the stairs, and wait above until Clay leaves. Then drop down, head around the corner and pick it up.
Disguises[]
| Disguise | Location |
|---|---|
| Chicago Police Officer | Worn by numerous police officers in every segment of the mission. |
| Chipmunk | Located on the ground behind the short wall at the top of the stairs leading to where Bill Dole meets with the police officer. |
| Store Clerk | Worn by the employees of the convenience store. |
| Strip Club Bouncer | Worn by several guards which patrol the interior of the Vixen Club. |
Challenges[]
| Icon | Name | Obtain | |
|---|---|---|---|

|
Chameleon | Use each of the disguises. | |

|
Evidence Collector | Collect the evidence in Courtyard, The Vixen Club, Derelict Building, Convenience Store, Loading Area, and Chinese New Year. | |

|
Infiltrator | Complete the mission without being spotted. | |

|
Suit Only | Complete the mission without changing out of the beginning outfit. | |

|
Private Dance | Kill Osmond in the lap dance booth and hide his body, unseen | |

|
Dominated | Kill Osmond in the restroom by garroting him and hide his body. | |

|
Schadenfreude | Kill Osmond by dropping the disco ball on him. | |

|
Fire Sale | Set off sprinklers and the fireworks in the convenience store. | |

|
Two Rights Make a Right | Kill Larry Clay before he shoots the vendor. | |

|
Moment of Bliss | Kill Larry Clay or Bill Dole by electrocuting them while they urinate. | |

|
Fire Him | Kill Frank Owens by sabotaging the gas pump. | |

|
X Marks the Spot | Kill Larry Clay by dropping the sacks on him. | |

|
Lieutenant Bad | Kill Bill Dole by stealing Birdie's file before he gets it. | |

|
Cleaning Up of Chinatown | Complete the Lieutenant Bad, Fire Him, X Marks the Spot and Moment of Bliss | |

|
Damage Control | Finish the mission; no requirements. | |

|
Swordplay - Part I | Stealth kill one of the Chinatown targets with the katana. | |

|
Swordplay - Part II | Stealth kill all three Chinatown targets with the katana. Must be completed in a single playthrough. | |

|
Swordplay - Part III | Stealth kill all three Chinatown targets with the katana while wearing the chipmunk disguise. | |

|
Mastery: Hunter and Hunted | Complete all other challenges. |
Maps[]